Showing posts with label thoughts about quilting. Show all posts

Saturday, August 31, 2019

Sweet Land of Liberty, August's One Monthly Goal

These are my August blocks for the Sweet Land of Liberty sewalong on Cheri's Facebook page, hosted by Lori of Humble Quilts.

Sweet Land of Liberty blocks

The red stars are a lot bright.  They may become another color -- eventually.  And that Economy Block with the yellow may not become part of this quilt.  They're not sewn yet.

I did really, really consider whether to add the words to the couple-with-tree block.  The original lettering was too large so I traced my couple and tree on another piece of paper, then added the letters around it.  When I held it up to the window to trace the letters onto the block I just couldn't do it.


Perhaps the printed background fabric on the block was one of the reasons I decided against the letters.  The print doesn't show in the photo as much as it does in person.

Last night I sewed the first two rows together.  This was a challenge I did not enjoy.  I altered the length and width of the Lady Liberty and pineapple blocks requiring an adjustment to the other blocks, too.  There is no way this quilt will finish anywhere close to square.  The left side of the quilt is about 1/2 to 1" longer than the right side.   

Sweet Land of Liberty blocks

I claimed getting this far on this quilt as my One Monthly Goal for August.  I am unmotivated to finish this quilt and procrastinated working on it all month, almost dreading it.  Finally, on Thursday night, as I thought about it before falling asleep, I decided to just fold up all the pieces, put them away, and forget about it.  I love Cheri's quilt but I'm not in love with the process of making my own version.  By Friday morning, enough sense had returned that I decided to at least finish the goal I had stated at the beginning of August.  Now that I've completed that goal, I'll reconsider whether to keep going or not.  I have some parts of the rest of the quilt finished but have the lower right corner and the row of stars and houses across the bottom to finish.  Still quite a lot, actually.

As much as I like, enjoy, and appreciate primitive quilts, maybe making them myself isn't what I love to do.  What do you do when you're "done" with a quilt but the quilt's not yet finished?  Do you ever just throw it out or pass it on?  Salvage part and repurpose it?  Or, perhaps, you never lose interest in a project?

I'm linking this post to One Monthly Goal August Finish Link-up at Elm Street Quilts.  Thanks for hosting, Patty.

--Nancy.
.

Friday, July 8, 2016

Proportion, Size, Symmetry, Balance -- How Does a Quilter Decide?

Vintage 9-patch quilt set on point with alternate setting blocks
One of the things I love about traditional quilts is the rhythm created by blocks repeated across the surface of a quilt.  Even when colors vary, lights and darks change places, or many or few fabrics are used, I can usually see that rhythm (sometimes held in place only by sashing between blocks, other times interrupted by faded fabric).  Those variations create interest for me.  I see the whole then devour the quilt one block at a time.

I also love the balance and symmetry that I see in old quilts.  Of course, not all old quilts have balance or symmetry in the blocks or across the surface.  Those quilts that don't are, perhaps, more interesting and I try to imagine the creative ethic, experience/knowledge, and circumstances of the quilter.  What prompted her to choose those colors, or to use one odd block with 35 others all the same, or to make the quilt the size it is?

When making quilts --modern, traditional, improv, any quilts-- I give too much thought to quilt sizes and proportions.  Maybe it's because I'm still learning how to "get it right."  Not that there's any particular wrong about a quilt size but there are some sizes and proportions that seem more pleasing to the eye and are possibly more useful.  In fact, when I'm riding in the car with my husband driving and I have a quilt book in tow that I've finished reading or looking at the photos, I sometimes go through it quilt by quilt and write down the sizes of each.  Weird, I know.  What I've found is that quilt sizes and proportions vary a lot.  A whole lot!  (One of these days I'm going to type the numbers into some kind of order so I can compare.)

For instance, a few quilts in Unconventional & Unexpected:  American Quilts Below the Radar, 1950-2000, had these measurements (in inches):
61 x 78
61 x 81
62 x 71
62 x 77
62 x 80
62 x 85
63 x 79
63 x 81
63 x 87
64 x 80
64 x 87
65 x 78

I struggle with quilt sizes.  In a blog comment someone told me the quilt size I chose would depend on the bed I was going to use for the quilt.  She's right, of course, except that I don't make quilts for beds, I make quilts to keep people warm, maybe on a bed, but just as often for a nap.  And I make quilts to play with fabric.  But I also want quilts that are a comfortable size:  not too long, not too short, not too wide, not too narrow.  (I'm sure you've seen a hired man's quilt, at least in a book:  narrow and long.)  Proportion matters to me.

But it's not just the physical sizes and proportions I think about, it's also the balance in a quilt.  In an on-point setting, a row can end with four blocks or five blocks (or any two other numbers depending on the size of the blocks and the width of the quilt).  When the ends don't have the same number of blocks it looks odd to me.  Uneven, unbalanced.  To my eyes, the same number of blocks on both ends and on both sides looks balanced.

I have three quilts that seem too long. 

First:  String-X.  
Scrappy String-X quilt
Finished it measures 69" x 93".  That's 7' 9" long!  Who needs a quilt that long?  Each diagonal string block measures 7", each set of our measures 14" x 14".  When I was deciding the layout of the quilt I knew I wanted the ends to be balanced.  The quilt could have been 7", 14", or 21" shorter, but only by leaving a row of blocks off of each end would it still have been balanced.  I could have had a quilt that measure 69 x

Second:  Plaid Churn Dash.
Churndash quilt of thrift store plaid shirts
This quilt measures 64" x 89". The blocks are 7 1/2" square.  Again, it's a quilt with the blocks set on point.  (Maybe it's only on point settings that create this problem of quilts that are balanced are too long.  I don't know.)

And last, Red Wings (my most recent quilting finish).  It hasn't been bound or washed and dried yet, so the measurements will change after all that happens.  As it is now, it measures 64 3/4" x 97 1/4".  It's an inch shorter than String-X was before being washed and 2 1/4" inches narrower.  It's just shy of 8 feet!!!  I knew it would be long but I wanted those balanced ends.   

Here it is with one row folded under on the end.  It measures 64 3/4" x 89".  The overall measurement is better but it doesn't look balanced to me.  One end has 5 half-blocks, the other has 4 half-blocks (which are cut off toward the bottom of the photo).

Lastly, here it is with two squares folded under on one end.  It's balanced with 4 half-squares on each end, but it looks squatty to me.  It measures 64 3/4" x 81", nearly 7 feet.

I've seriously thought of cutting off the end of this quilt, even though it would mean I'd have a bias edge to deal with, but I can't make myself cut it to 81".  It could end up only 73" or 74" long.

The other consideration when deciding the size of a quilt is shrinkage.  By the time I finish hand quilting I've lost at least an inch in width and two in length.  Add to that (or subtract from that, if you will) the shrinkage from washing and drying and the loss in width could be from 2 to 5 inches and between 2 and 7 inches in length.  (To date the only bats I've used are Mountain Mist Cream Rose and Soft & Crafty 80/20 cotton/poly.)

If you've read this far you're a trooper and I thank you.  I hope you'll go one step further and tell me how you decide the size of your quilts.  Do you choose it by blocks:  x # of blocks by y # of blocks?  Do you go for length and width without consideration for balance?  Do you try to balance the ends and sides to have the same number of blocks?  Do you consider shrinkage when you're deciding the size of a quilt?

Thank you so much for sharing your thoughts about proportions, sizes, symmetry, and balance when making a quilt.  I appreciate it!

I'd love lots of responses to my questions so I'm linking to
- TGIFF : Go West Flimsy at The Carpenters Daughter Who Quilts
- Off the Wall Friday at Creations... Quilts, Art.... Whatever
- Fabric Frenzy Friday at Forth Worth Fabric Studio {Blog}
- Fabric, Thread and Yarn at France Nadeau
- finish it up Friday at crazy mom quilts
- Can I get a Whoop Whoop?  at Confessions of a Fabric Addict
- Midweek Makers #27 at  Quilt Fabrication
Thanks for hosting, ladies!

--Nancy.
.

Thursday, January 17, 2013

Lessons from Easy Street

I want Bonnie Hunter know how grateful I am to her for inviting us to participate in her Easy Street Mystery Quilt.  It's been an interesting and fun experience.  I love the blocks she created, appreciate her enthusiasm and energy, and am grateful for her generosity in sharing this quilt pattern with us.  Thank you, Bonnie!

Easy Street has been an opportunity for firsts for me. 
  • first mystery quilt 
  • first time have no idea the appearance of the finished quilt
  • first time using so many (small) pieces in a quilt
  • first time sewing flying geese
  • first time choosing only 5 colors for a quilt
  • first time choosing all the colors in advance
 
Trying something new is almost always a good thing.  It gives me a chance to learn, to see things from a different perspective, and is often an opportunity to decide I do or don't like something. So, I thought I would jot down some lessons I've learned on Easy Street, in no particular order.
  • Now I know I like working toward a finished image, either mental or visual, rather than not knowing the end result.
  • The more pieces of fabric in a quilt, the more chances everything won't line up in the end, even with very careful cutting and sewing.
  • Having all seams pressed to one side can be difficult.  At times there were 6 layers of fabric to stitch through.
  • Sometimes it's essential to pin if you want your seams to line up.  (And if the seams don't line up, the quilt  is less likely to come out square in the end.)
  • It's fun to stitch many elements and then play with them.  I intend to play with the leftovers from this quilt and can already imagine more than a few arrangements.  I may decide to make another small Easy Street quilt with the rest of the blocks or do something else with them.
  • When doing a mystery it's really important to notice both color and value when choosing fabric.  I heard Bonnie say this quilt was about color, and it is, but it's also about value.  When she first gave her colors, each color was in a separate photograph so there was no way to look at them together.  When she started stitching the blocks together, I wasn't thinking about value and didn't notice.  I'll notice value from now on.

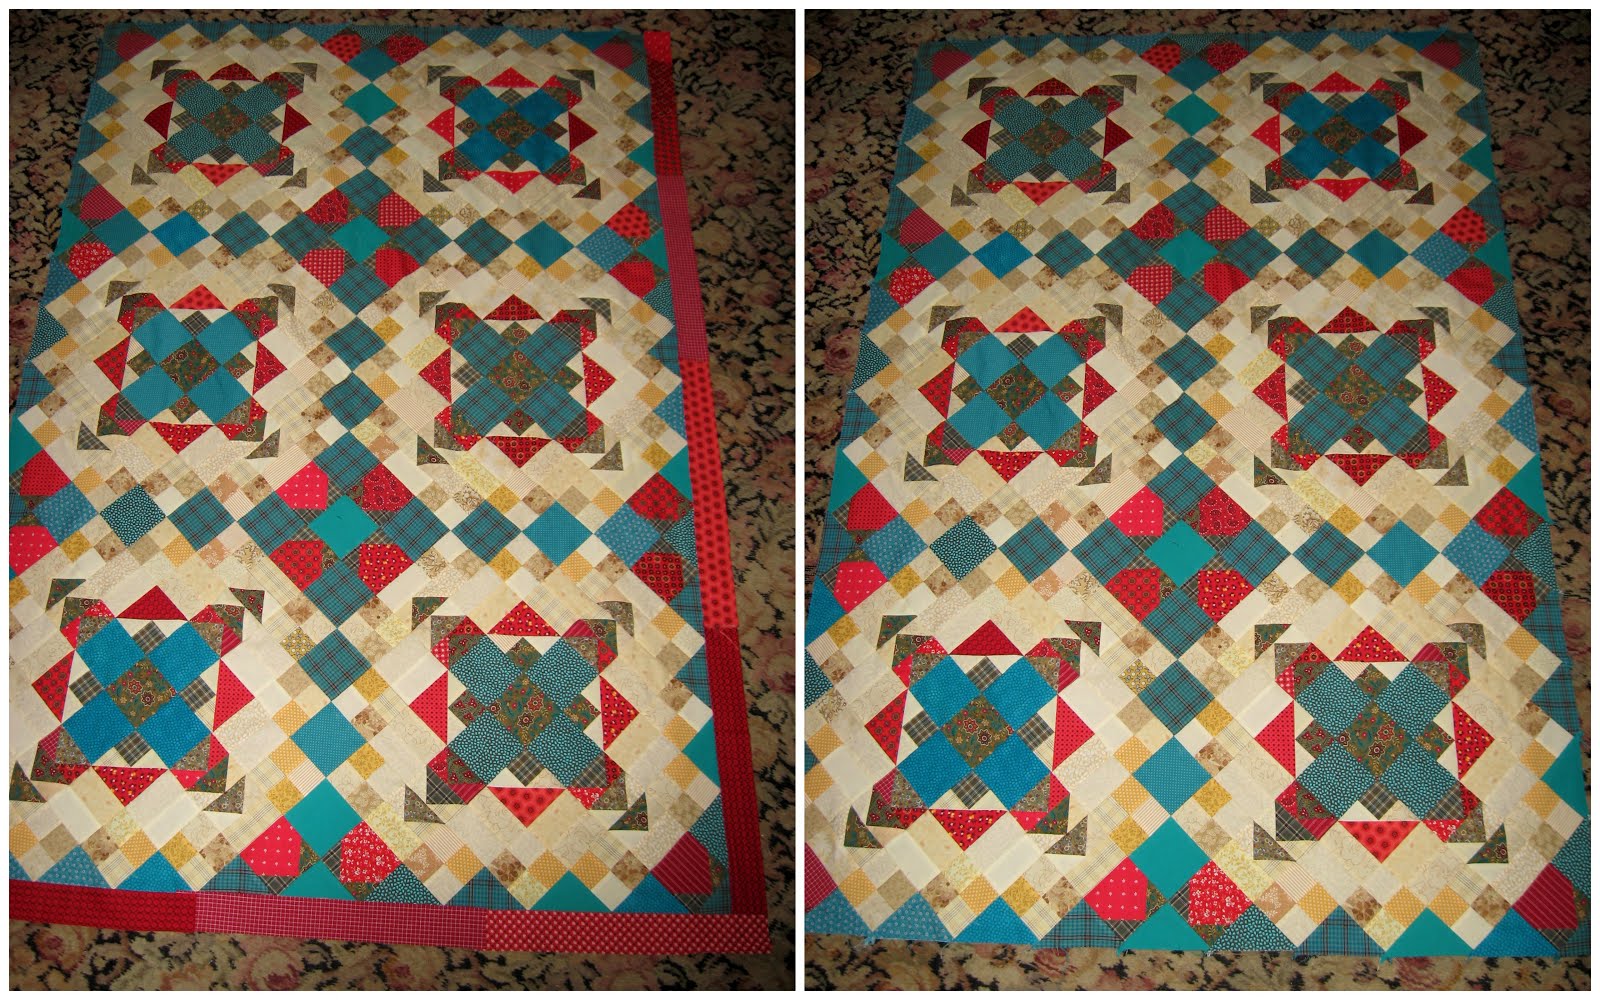
Any of you who have been reading about my Easy Street progress know I thought the teal was a little strong and wished for more red.  I had thought about a red border and several of you left comments suggesting the same.  Is the red border now too strong?  I considered no border but the quilt looks bare without a border.  What do you think?

Happy stitching!
--Nancy.
.

Wednesday, November 7, 2012

Reminders to Self about Hand Quilting - W.i.P. Wednesday

This is my very scrappy String-X a la Bonnie Hunter.  What you see in this photo is essentially all I have left to hand quilt.  Do you think I can quilt it in two weeks?  I hope so.  I will be so thrilled to have this finished!


Notes to myself as a beginning hand quilter.  
Remember!

Choose your thread carefully.  Use the same color of thread as the fabric you're quilting, or at least choose a thread that blends or mostly disappears into the fabric.  That way your novice abilities won't be so obvious.  Once you're an expert hand quilter you can use a different color of thread so your stitches will stand out.  By then you will appreciate that people will notice your quilting skills.

Press seams open!  Seams pressed to one side are hard to push a needle through.  Sometimes a seam with two layers of fabric overlaps another seam with two layers of fabric.  (You can just barely see it in the photo to the right, where the colored corners are.  You can click the photos to enlarge them.)  That's four layers just for the seams.  Add the top of the quilt and the back of the quilt and you're quilting through 6 layers in the finished quilt.  Six layers are too many!  Press seams open and it will be easier to quilt.

Improve the pin basting.  Find a way to prevent the loop end of the pin from catching the fabric and making a hole.  Maybe a small bead on the pin before putting it into the fabric would prevent the holes.  Or maybe tie a knot with a large string and slide it down to the end of the pin with the circle.  If you can't find a solution to prevent the holes, thread baste!

About penciled lines.  Following lines in quilting is boring.  It's like coloring in a coloring book instead of making your own drawing or painting.

Get a good thimble and use it to push the needle through.

Build up callouses on your fingers and keep them.  That means quilting every day.  Until you have callouses, you'll have sore fingers.  And never, never, never, never hand quilt immediately after washing your hands!  It makes even calloused fingers so soft that the back end of the needle might poke through your fingers.  Wait till your hands are completely dry.


I'm linking this post to W.i.P. Wednesday at FreshlyPieced.  Thank you, Lee and Svetlana.


Thanks for visiting.
--Nancy.

Saturday, November 3, 2012

Unsewing

Do you unsew?  Or unstitch?  Or rip seams?  Or pick out threads? That thing we do when the needle and thread went the wrong way or did something we didn't intend?  It probably has other names, too.

I learned to unsew not long after I learned to sew.  I was about five when my mother showed me how to sew on a button, then put a needle and thread into my hand.  In the process of attaching the button I realized there was some problem:  with the thread coming out on the bottom, I had moved it around to the top and sent the needle back down again instead of coming up from the bottom.  I attempted to put the thread end of the needle back into the whole from whence it came.  Somehow I succeeded and was able to fix my mistake and begin sewing properly again.

My father had a watch repair business in our home (in addition to his regular job).  When people came to drop off or pick up watches they came in through our front door, walked through a section of our living room, and into the room where my father worked.

Once when I was still new to sewing I was sitting in our living room unsewing another button when a man came to pick up his timepiece.  He greeted me, stopped to watch me, squatted, then asked what I was doing.  I explained that I needed to get the needle and thread back through the hole.  He laughed.  He told me it wasn't possible, that I would need to cut the thread and begin again.  Unfortunately, he left before I succeeded at my task or he would have learned that it was, indeed, possible.  Not easy, but possible.

My mother used a needle to unpick threads until she became acquainted with a seam ripper.  She once used it unwisely and ripped not just the threads in the seam but the fabric on one side of the seam.  Knowing the power of a seam ripper, she was much more careful from then on.

These days I use different methods to unsew.  I usually use a seam ripper, a little tool that's probably well known to everyone who has ever sewn on a sewing machine.  Sometimes I use small, sharp scissors to cut the threads if the stitches are large enough and I'm able to begin unstitching at the end of the seam.

Now I have a new unsewing tool, recently introduced to me by Bonnie Hunter of Quiltville.  I was watching Bonnie on Quiltcam one evening when she was ripping out a seam.  I can't remember if another viewer asked her what she was using or if she instinctively knew that some would want to know.  She turned to the camera and explained that she was using an eyebrow shaper:  not too sharp but sharp enough to cut the threads without cutting the fabric.  She told us that they came three to a pack for under $3.00.  At Wal-Mart, in the cosmetics area.

I like tools as much as the next gal so when on an errand at Wal-Mart I went over to the cosmetics area and found them.  I would have preferred to buy just one until I knew if I liked them, but the eyebrow shapers came three to a pack, so three I bought.   I wasn't sure I liked them until I realized it takes a one way sawing motion - downward only, for me at least.  Perhaps they work differently for different people.  They're very effective and, I think, less risky than a seam ripper.

I'm pleased to have one more tool in my arsenal of unsewing equipment.  The less I need to use any of them, though, the better.

Do you unsew?  What tools do you use?
Related Posts Plugin for WordPress, Blogger...